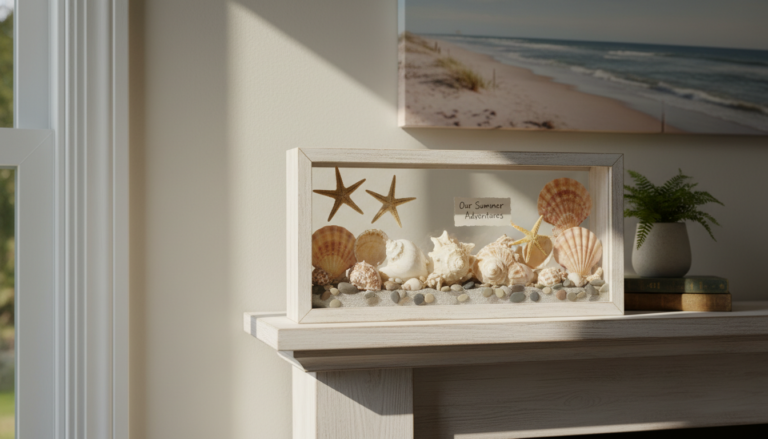
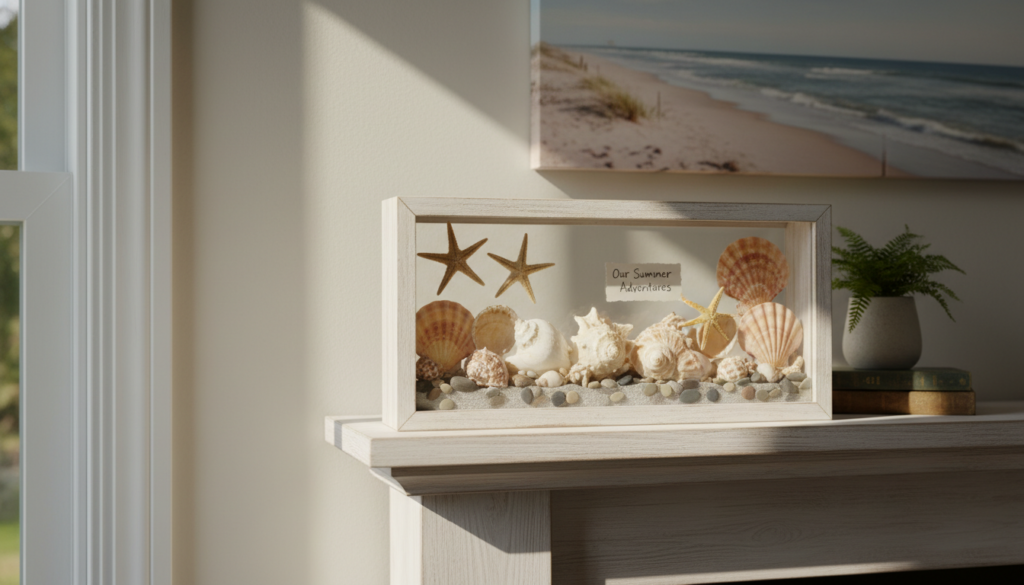
DIY Seashell Shadow Box: How to Display Your Summer Vacation Finds
Are you looking for a creative way to showcase your summer vacation memories? You can transform your beach treasures into a stunning display that rivals expensive decor from high-end stores. By drawing inspiration from catalogs like Pottery Barn, you can achieve a luxurious look without breaking the bank.
This guide will walk you through the essential steps to curate your finds into a beautiful arrangement for your home. You’ll learn how to preserve your seaside treasures, ensuring they last for years to come.
Creating this project is not just about decoration; it’s a rewarding way to celebrate your time spent at the ocean. Plus, it adds a personal touch to your interior design, making your space feel unique and inviting.
Key Takeaways
- Transform your vacation memories into a beautiful display.
- Inspiration from high-end catalogs can save you money.
- Learn essential steps to create a professional-looking arrangement.
- Preserve your treasures for lasting enjoyment.
- Add a personal touch to your home decor.
Introduction and Inspiration
Imagine capturing the essence of your beach adventures in a beautiful home display. When you return from the shore with a bucket of shells, you hold the perfect materials to create a unique shadow box display. This project not only showcases your treasures but also evokes the memories of sun-soaked days spent by the ocean.
Many find that the high cost of a Pottery Barn shadow box, often priced at $399, serves as the perfect motivation to embark on this creative journey. By arranging your seaside finds in the shape of a heart or other coastal motifs, you can reflect your love for the sea.
Finding a creative way to display your shells brings the calming atmosphere of the beach into your home. Whether you opt for multiple frames or a single large display, your finished seashell shadow box will serve as a stunning reminder of your summer.
Gathering Your Materials and Supplies
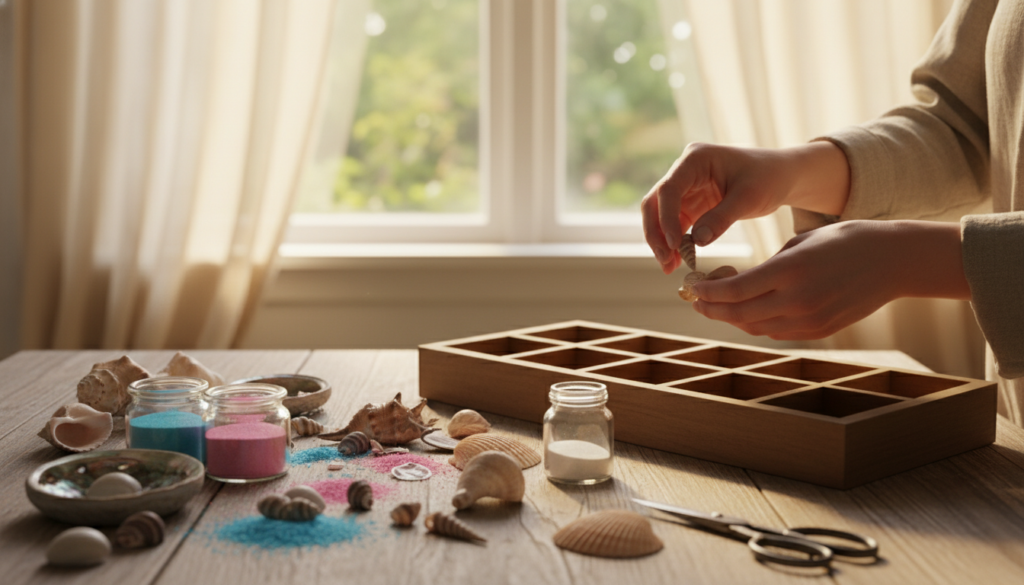
Transforming your beach treasures into a stunning showcase is easier than you think. The first step is to gather all the necessary materials for your project. This includes finding the right shadow box frames and selecting the perfect shells to display.
Finding the Perfect Frames
Look for shadow box frames at craft stores like Michael’s. A set of two 12×12 frames can cost as little as $14.99. Choosing a frame that complements your decor is essential for a polished look.
Selecting Shells, Backing Fabric, and Adhesives
When selecting your shells, consider their size and shape. A clean, neutral backing fabric, such as natural linen, ensures your shells stand out beautifully. Using hot glue is a quick method for attaching your shell collection. Just remember to apply the adhesive sparingly for a neat finish.
As you gather your materials, think about the depth of the box. This will help accommodate the varying sizes of your beach finds. Preparing your backing with high-quality fabric provides a professional foundation for your seashell shadow box project.
| Material | Details | Estimated Cost |
|---|---|---|
| Shadow Box Frame | 12×12 size, set of 2 | $14.99 |
| Backing Fabric | Natural linen or similar | $5.00 |
| Adhesive | Hot glue or similar | $3.00 |
Preparing Your Shadow Box Backing
Preparing the backing for your display is a crucial step in showcasing your beach treasures. The first task is to remove the back panel of the frame. Center it carefully on your chosen piece of fabric. This ensures that your shells will be highlighted beautifully.
Securing the fabric tightly is essential. It prevents wrinkles that could distract from the overall look. If you’re using glass-fronted displays, make sure the backing is perfectly flat. This way, the shells won’t press too hard against the surface.
Next, take a pencil and lightly mark where each shell will sit. This helps ensure your final arrangement is balanced and visually appealing. A well-prepared backing is the secret to making your seashell shadow box look like a high-end piece of art rather than a simple craft.
“A well-prepared backing is the secret to making your seashell shadow box look like a high-end piece of art.”
DIY Seashell Shadow Box: Techniques and Tips
Creating a stunning display of your beach finds is an exciting way to bring a piece of the ocean into your home. With the right techniques, you can craft a beautiful arrangement that reflects your personal style. Start by considering your layout options. You might want to explore circular patterns or random arrangements, both of which can add a unique flair to your project.
For circular patterns, you can follow the techniques shown in a 3.5-minute video by The Crafting Spot on YouTube to achieve perfect symmetry. If you prefer a more permanent bond, using Gorilla Glue or E6000 is an excellent choice. Just remember, these adhesives require 24 hours of drying time to fully cure.
Alternatively, if you want to avoid adhesives altogether, consider the original no-glue shadow box design from 2014. This approach is perfect for showcasing delicate beach finds without risking damage. When arranging your shells, adding a small amount of sand to the bottom of the frame can enhance the coastal aesthetic of your project.
Before applying any glue, always test your layout on the backing. This ensures that the shell placement meets your expectations and looks visually appealing.
| Technique | Description | Considerations |
|---|---|---|
| Circular Patterns | Symmetrical layout for visual appeal | Watch tutorial for guidance |
| Gorilla Glue | Strong adhesive for permanent bonding | Requires 24 hours to cure |
| No-Glue Design | Alternative method to avoid adhesives | Great for delicate items |
| Adding Sand | Enhances coastal aesthetic | Use sparingly for effect |
Creative Customizations and Extra Ideas
Elevating your display can transform it into a personal masterpiece. Customizing your arrangement allows you to infuse your unique style into the project. Consider adding mixed media elements to enhance the visual appeal of your collection.
Incorporating Mixed Media and Nautical Elements
One way to enhance your shadow box is by including items like a miniature beach sign or a small bottle of sand from your trip. These additions create a narrative around your treasures.
To achieve a nautical look, consider integrating small pieces of driftwood or sea glass. These elements complement the shells beautifully and add depth to your design.
Personal Touches: Adding Sand, Starfish, and Mementos
Incorporating a starfish or arranging shells in a heart shape can add a personal touch. This makes your display feel like a curated collection of your most cherished finds.
Using tweezers for placing tiny shells or starfish ensures precision, especially when working on intricate designs. Spending time customizing your project allows you to tell a story about your vacation, making it a perfect piece of decor for your home.
| Customization Idea | Description | Benefits |
|---|---|---|
| Mixed Media Elements | Include items like beach signs or sand bottles | Adds narrative and personal flair |
| Nautical Elements | Use driftwood or sea glass | Enhances coastal theme |
| Heart-Shaped Arrangements | Arrange shells in a heart shape | Creates a sentimental display |
| Precision Tools | Use tweezers for small items | Ensures accuracy in placement |
Conclusion
Your summer memories deserve a beautiful showcase that reflects the joy of your beach adventures. Creating a stunning display is a wonderful way to preserve your favorite shells and keep the spirit of the ocean alive in your home.
By using the right glue and carefully arranging your treasures, you can ensure your shadow box remains a stunning focal point. Whether you opt for a simple starfish design or a more intricate circular pattern, your finished project will celebrate the beauty of the ocean.
Remember, the time you invest in preparing your backing and selecting your shells will lead to a professional-looking piece of art. We hope this guide has inspired you to start your own seashell shadow box and enjoy your vacation finds for many years to come.
FAQ
What materials do I need to create a shadow box?
To create your display, gather a shadow box frame, various shells, sand, fabric for backing, and a strong adhesive like hot glue.
How can I arrange the shells in my display?
You can experiment with layouts, such as circular patterns or random arrangements, to find what best showcases your beach treasures.
Can I customize my shadow box with additional elements?
Absolutely! Consider adding sand, starfish, or other nautical items to enhance the oceanic theme and make it uniquely yours.
What type of fabric works best for the backing?
Choose a fabric that complements your shells and the overall aesthetic you want to achieve, such as linen or burlap for a coastal vibe.
How do I ensure my shells stay securely in place?
Use a strong adhesive like hot glue or Gorilla Glue to firmly attach each shell to the backing, ensuring they remain in place over time.
Where can I find shadow box frames?
Shadow box frames can be found at craft stores, home decor retailers, or online marketplaces like Amazon and Etsy.
How can I display my shadow box in my home?
Consider placing your creation on a shelf, hanging it on a wall, or incorporating it into a gallery display to highlight your beach memories.
Recent blog posts
Minimalist Summer Decor: 7 Easy Ways to Lighten Up Your Space
Easy Driftwood Wall Hanging DIY for a Coastal Living Room
Simple Summer Mantle Decor Ideas That Take Less Than 5 Minutes
Step-by-Step No-Sew Linen Throw Pillows for Summer 2026
Top 3 Cozy Summer Porch Decor Ideas for Small Spaces